×
- Live Chat
- 1-888-984-2011

My Garage
My Account
My Cart
Genuine Honda Del Sol Steering Knuckle
Front Steering KnuckleEnter your vehicle info to find more parts and verify fitment
- Select Vehicle by VIN
- Select Vehicle by Model
Select by VIN
orEnter your VIN for the most accurate results.Enter your VIN for the most accurate results.
Select by Model
-- Select Model --
-- Select Year --
-- Select Body & Trim --
-- Select Emission & Transmission --
6 Steering Knuckles found
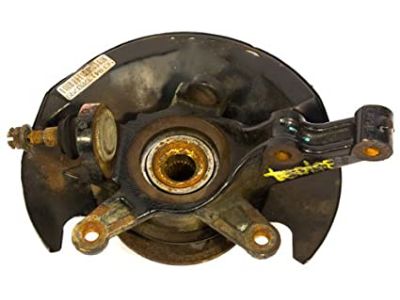
Honda Del Sol Knuckle, Left Front
Part Number: 51215-SR3-N10- Other Name: Steering Knuckle; Knuckle
- Position: Front Driver Side
- Replaces: 51215-SR3-N00
Honda Del Sol Knuckle, Left Front
Part Number: 51215-SR3-N00- Position: Front Driver Side
- Replaced by: 51215-SR3-N10
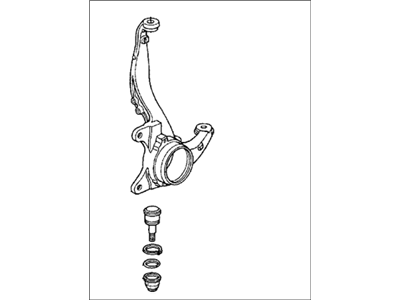
Honda Del Sol Knuckle, Right Front
Part Number: 51210-SR3-000- Other Name: Steering Knuckle; Knuckle
- Position: Front Passenger Side
- Replaces: 51210-SR3-Q00
Honda Del Sol Knuckle, Right Front
Part Number: 51210-SR3-N00- Position: Front Passenger Side
- Replaced by: 51210-SR3-N10
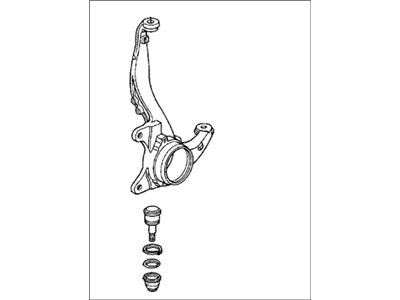
Honda Del Sol Knuckle, Right Front
Part Number: 51210-SR3-N10- Other Name: Steering Knuckle; Knuckle
- Position: Front Passenger Side
- Replaces: 51210-SR3-N00
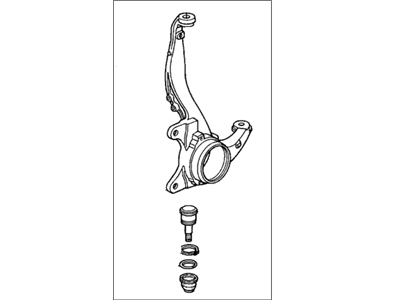
Honda Del Sol Knuckle, Left Front
Part Number: 51215-SR3-000- Other Name: Steering Knuckle; Knuckle
- Position: Front Driver Side
- Replaces: 51215-SR3-Q00
Honda Del Sol Steering Knuckle Parts Questions & Answers
- Q: How do you remove and reinstall the Steering Knuckle on Honda Del Sol?A: To dismantle the wheel assembly, one has to, first of all, if any, to take off the wheel cover, then remove the driveaxle/hub nut and then the wheel lug nuts. Lift the front of vehicle and firmly secure by jacking and then remove the wheel and then the driveaxle/hub nut. It is followed by removing the brake hose bracket from the steering knuckle, then removing the brake caliper and suspending it, after that removing the caliper mounting bracket and brake disc. Remove the nut on the tie-rod end, unbolt the lower Control Arm from the Ball Joint at the bottom of the steering knuckle and separate the upper end of the knuckle from the upper control arm ball joint. Slowly lift the knuckle and hub and off the driveaxle use soft-faced hammer to hit end of the driveaxle to loosen it from the hub but ensure that the driveaxle is wired from joint to avoid straining the inner CV joint. Due to the special tools and knowledge, which are needed for this process, it is better to change them in the dealer service department or in the automobile repair shop. For installation apply a small amount of wheel bearing grease to the splines of the driveaxle and then place the driveaxle through the splined bore of the hub as well as positioning the steering knuckle. Screw the upper end of the knuckle to the upper control arm balljoint and snug the balljoint stud nut and then tighten the balljoint stud nut to the prescribed torque. Screw the balljoint, which is located at the bottom of the knuckle, to the lower control arm, that is followed by the brake disc, the caliper mount and caliper after which the brake hose bracket is fixed. Tighten the drive axles nut and fix the wheel with lugs nuts, lower the car and tighten the lug nuts to the recommended torque again. Last, turn the driveaxle nut to the prescribed torque and drive to the dealer for front-end alignment test and correction if needed.


