×
- Live Chat
- 1-888-984-2011

My Garage
My Account
My Cart
Genuine Honda Civic A/C Compressor
Air Conditioning CompressorEnter your vehicle info to find more parts and verify fitment
- Select Vehicle by VIN
- Select Vehicle by Model
Select by VIN
orEnter your VIN for the most accurate results.Enter your VIN for the most accurate results.
Select by Model
-- Select Model --
-- Select Year --
-- Select Body & Trim --
-- Select Emission & Transmission --
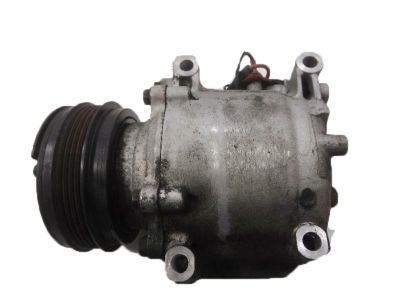
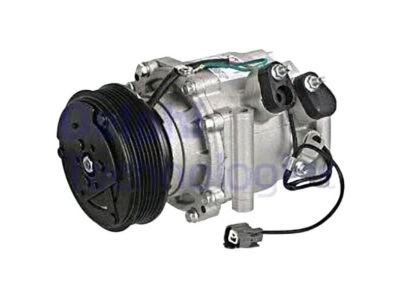
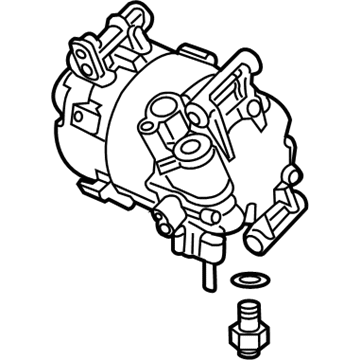
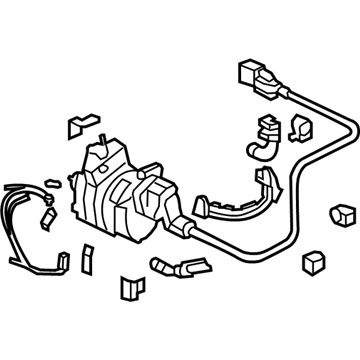
66 A/C Compressors found
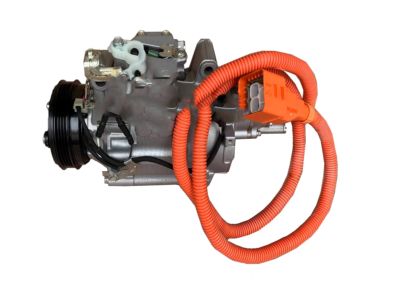
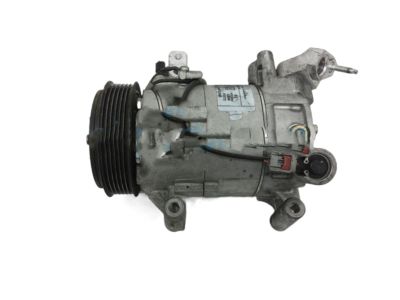
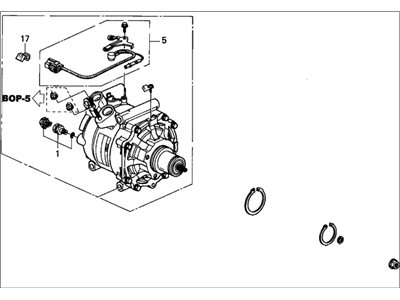
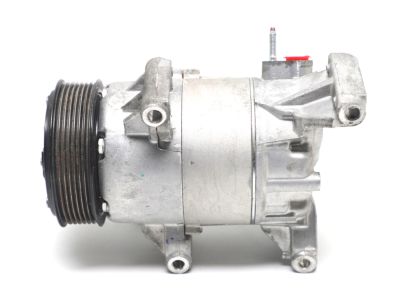
Honda Civic Compr. Comp
Part Number: 38810-RX0-A01- Other Name: Compressor
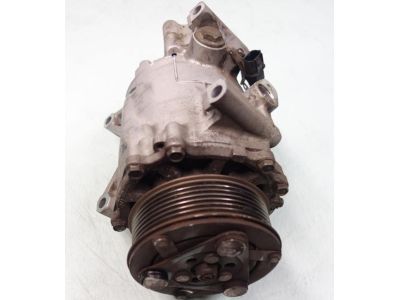
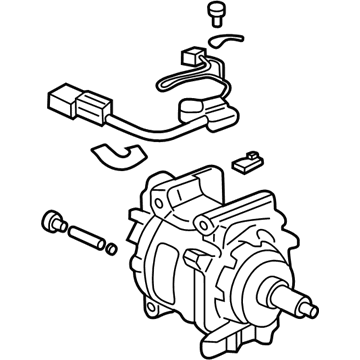
$774.09 MSRP: $1117.02You Save: $342.93 (31%)Honda Civic Compressor
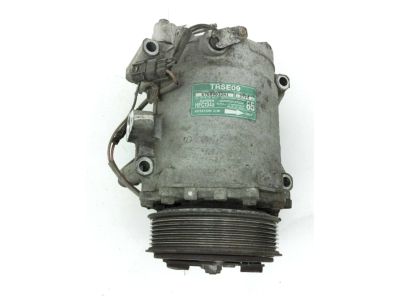
Part Number: 38810-RNA-A02- Replaces: 38810-RNA-A01
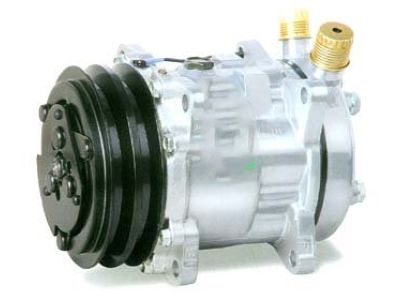
$636.97 MSRP: $919.15You Save: $282.18 (31%)Honda Civic Compressor
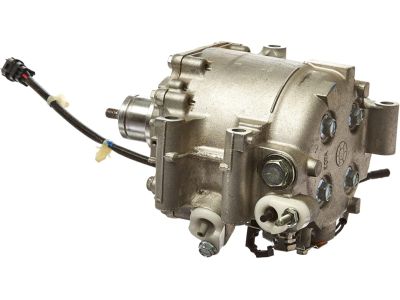
Part Number: 38810-RPY-E05- Replaced by: 38810-RPY-E07
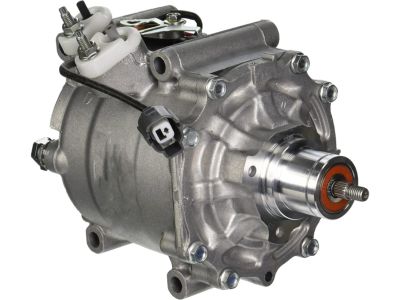
$885.86 MSRP: $1278.30You Save: $392.44 (31%)Honda Civic Compressor
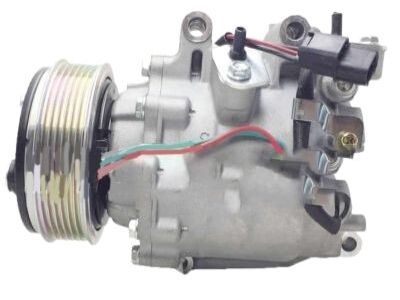
Part Number: 38810-RRB-A02- Replaces: 38810-RRB-A01
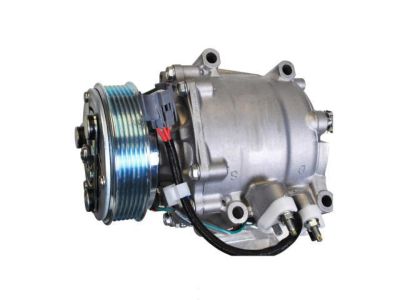
$664.85 MSRP: $959.38You Save: $294.53 (31%)Honda Civic Compressor (Sanden)
Part Number: 38810-PLA-E01- Other Name: Compressor
$662.15 MSRP: $955.49You Save: $293.34 (31%)Honda Civic Compressor (Sanden)
Part Number: 38810-P2F-A01- Other Name: Compressor
- Replaces: 38810-P2R-A01
$661.35 MSRP: $954.34You Save: $292.99 (31%)Honda Civic Compressor (Sanden)
Part Number: 38810-PLM-A11- Other Name: Compressor
$661.87 MSRP: $955.08You Save: $293.21 (31%)Honda Civic Compressor Comp
Part Number: 38810-5BA-A03- Other Name: Compressor
- Replaced by: 38810-5BA-A05
- Replaces: 38810-5BA-A01, 38810-5BA-A02
$416.77 MSRP: $601.40You Save: $184.63 (31%)Honda Civic Compressor
Part Number: 38810-RMX-A02- Replaces: 38810-RMX-A01
$1010.97 MSRP: $1458.84You Save: $447.87 (31%)Honda Civic Compressor (Sanden)
Part Number: 38810-PLM-A12- Other Name: Compressor
- Replaced by: 38810-PLM-A13
$659.31 MSRP: $951.38You Save: $292.07 (31%)Honda Civic Compressor (Denso)
Part Number: 38810-P9K-E01- Other Name: Compressor
- Replaces: 38810-PR7-A04, 38810-PR7-A03
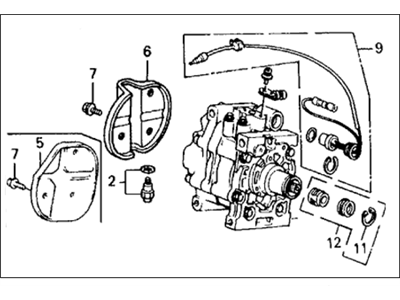
$728.41 MSRP: $1051.10You Save: $322.69 (31%)Honda Civic Compressor
Part Number: 38810-PM3-026- Replaced by: 38810-PM3-R13
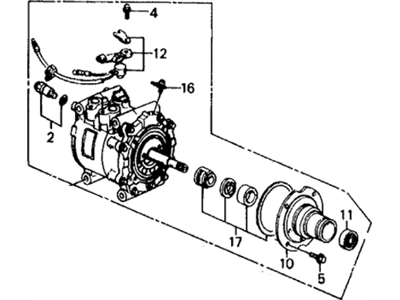
$405.15 MSRP: $584.63You Save: $179.48 (31%)Honda Civic Compressor
Part Number: 38810-PM3-016- Replaced by: 38810-PM3-R23
$378.30 MSRP: $545.89You Save: $167.59 (31%)Honda Civic Compressor, A/C (RMD)
Part Number: 38800-RRB-A01RM- Replaced by: 38800-RRB-A03RM
$609.59 MSRP: $877.37You Save: $267.78 (31%)Honda Civic Compressor
Part Number: 38810-PM9-S01- Replaces: 38810-PM9-A11
$410.32 MSRP: $672.33You Save: $262.01 (39%)Honda Civic Compressor Comp
Part Number: 38810-5AA-A03- Other Name: Compressor
- Replaced by: 38810-5AA-A05
- Replaces: 38810-5AA-A01, 38810-5AA-A02
$547.67 MSRP: $790.28You Save: $242.61 (31%)
| Page 1 of 4 |Next >
1-20 of 66 Results
Honda Civic A/C Compressor Parts Questions & Answers
- Q: How do you remove and install the A/C Compressor on Honda Civic?A: When replacing entire components, additional refrigerant oil should be added equal to the amount that is removed with the component being replaced. Be sure to read the can before adding any oil to the system to ensure compatibility with the R-134a system. The receiver-drier should be replaced whenever the compressor is replaced. Begin by having the air conditioning system refrigerant discharged and recovered by an air conditioning technician. Disconnect the cable from the negative battery terminal. Set the parking brake, block the rear wheels, and raise the front of the vehicle, supporting it securely on jackstands, then remove the under-vehicle splash shield. Remove the engine cooling fans. On 1.8L models and 2015 and later CR-V models, remove the alternator. Disconnect the compressor clutch wiring harness and the refrigerant lines from the compressor, plugging the open fittings to prevent entry of dirt and moisture. Remove the compressor mounting bolts. For all models except 2015 and later CR-V models, carefully guide the compressor through the opening below the engine compartment; for 2015 and later CR-V models, remove the compressor from the top. The clutch may need to be transferred from the old compressor to the new unit. Since the oil separator is equipped inside the AJC compressor on these models, oil drainage is unnecessary at the time of compressor replacement when installing a new compressor supplied by Honda. Follow any specific instructions that come with a replacement compressor. Installation is the reverse of removal, using new O-rings where the line fittings attach to the compressor. Have the system evacuated, recharged, and leak tested by an air conditioning technician, and then reconnect the battery.
Related Honda Civic Parts
Browse by Year
2021 A/C Compressor 2020 A/C Compressor 2019 A/C Compressor 2018 A/C Compressor 2017 A/C Compressor 2016 A/C Compressor 2015 A/C Compressor 2014 A/C Compressor 2013 A/C Compressor 2012 A/C Compressor 2011 A/C Compressor 2010 A/C Compressor 2009 A/C Compressor 2008 A/C Compressor 2007 A/C Compressor 2006 A/C Compressor 2005 A/C Compressor 2004 A/C Compressor 2003 A/C Compressor 2002 A/C Compressor 2001 A/C Compressor 2000 A/C Compressor 1999 A/C Compressor 1998 A/C Compressor 1997 A/C Compressor 1996 A/C Compressor 1995 A/C Compressor 1994 A/C Compressor 1993 A/C Compressor 1992 A/C Compressor 1991 A/C Compressor 1990 A/C Compressor 1989 A/C Compressor 1988 A/C Compressor 1987 A/C Compressor 1986 A/C Compressor 1985 A/C Compressor 1984 A/C Compressor 1983 A/C Compressor 1982 A/C Compressor 1981 A/C Compressor 1979 A/C Compressor 1978 A/C Compressor 1977 A/C Compressor 1976 A/C Compressor 1975 A/C Compressor 1974 A/C Compressor 1973 A/C Compressor
