×
- Hello
- Login or Register
- Quick Links
- Live Chat
- Track Order
- Parts Availability
- RMA
- Help Center
- Contact Us
- Shop for
- Honda Parts
- Honda Accessories

My Garage
My Account
Cart
Genuine 2002 Honda Passport Control Arm
Suspension Arm- Select Vehicle by Model
- Select Vehicle by VIN
Select Vehicle by Model
orMake
Model
Year
Select Vehicle by VIN
For the most accurate results, select vehicle by your VIN (Vehicle Identification Number).
6 Control Arms found
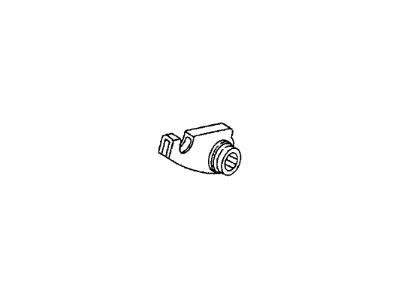

2002 Honda Passport Arm, Driver Side Height Control
Part Number: 8-97125-093-2$39.07 MSRP: $80.03You Save: $40.96 (52%)Product Specifications- Other Name: Torsion Bar Adjuster; Height Adjuster
- Position: Driver Side
- Replaces: 8-97125-093-1
- Item Weight: 2.40 Pounds
- Item Dimensions: 9.5 x 4.6 x 2.9 inches
- Condition: New
- Fitment Type: Direct Replacement
- SKU: 8-97125-093-2
- Warranty: This genuine part is guaranteed by Honda's factory warranty.
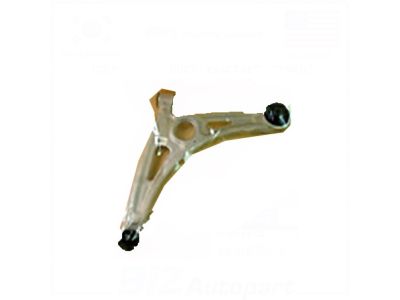
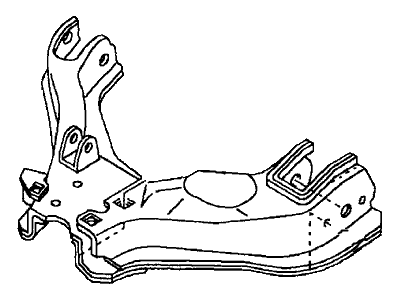
 Product Specifications
- Other Name: Lower Control Arm
- Position: Driver Side
- Replaces: 8-97125-020-1, 8-97125-020-0
- Item Weight: 17.90 Pounds
- Item Dimensions: 21.2 x 18.3 x 4.8 inches
- Condition: New
- Fitment Type: Direct Replacement
- SKU: 8-97366-490-0
- Warranty: This genuine part is guaranteed by Honda's factory warranty.
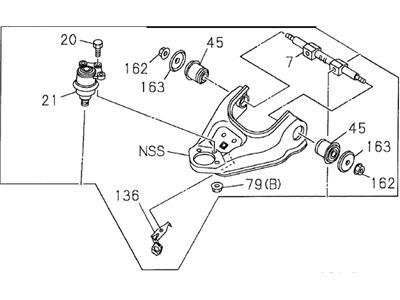 Product Specifications
- Other Name: Upper Control Arm
- Position: Driver Side
- Replaces: 8-97232-621-0, 8-97232-621-2, 8-97125-005-1, 8-97125-005-2, 8-97366-485-0
- Item Weight: 10.50 Pounds
- Item Dimensions: 21.8 x 18.0 x 4.5 inches
- Condition: New
- Fitment Type: Direct Replacement
- SKU: 8-97232-621-1
- Warranty: This genuine part is guaranteed by Honda's factory warranty.
- Product Specifications
- Other Name: Torsion Bar Adjuster; Height Adjuster
- Position: Passenger Side
- Replaces: 8-97125-097-1, 8-97125-097-2
- Item Weight: 2.30 Pounds
- Item Dimensions: 7.0 x 4.5 x 4.4 inches
- Condition: New
- Fitment Type: Direct Replacement
- SKU: 8-97211-053-0
- Warranty: This genuine part is guaranteed by Honda's factory warranty.
- Product Specifications
- Other Name: Lower Control Arm
- Position: Passenger Side
- Replaces: 8-97125-019-0, 8-97125-019-1
- Item Weight: 17.50 Pounds
- Item Dimensions: 21.0 x 18.3 x 3.5 inches
- Condition: New
- Fitment Type: Direct Replacement
- SKU: 8-97366-489-0
- Warranty: This genuine part is guaranteed by Honda's factory warranty.
- Product Specifications
- Position: Upper Passenger Side
- Item Weight: 3.90 Pounds
- Item Dimensions: 15.8 x 14.5 x 6.6 inches
- Condition: New
- Fitment Type: Direct Replacement
- SKU: 8-97232-620-0
- Warranty: This genuine part is guaranteed by Honda's factory warranty.
2002 Honda Passport Control Arm
Our website is the optimal online store for when you need any genuine 2002 Honda Passport Control Arm. We offer a wide range of 2002 Honda Passport Control Arm at unbeatable prices. We will help provide you with a worry-free shopping experience at highly competitive prices. In addition, all OEM parts are backed by the manufacturer's warranty.
2002 Honda Passport Control Arm Parts Questions & Experts Answers
- Q:How to remove and install the lower control arm on 2002 Honda Passport?Posted by Juergen S.A:To remove the lower control arm, first loosen the wheel lug nuts, raise the front of the vehicle, and support it securely on jackstands before removing the wheel. Support the lower control arm with a floor jack, then disconnect the stabilizer bar and the shock absorber from the lower arm. Remove the torsion bar and the floor jack, followed by disconnecting the balljoint from the steering knuckle. Remove the lower arm pivot bolt nuts and washers, detach the lower control arm from the frame brackets by removing the front and rear pivot bolts and nuts, and then pull out the bolts, using a hammer and drift punch if necessary. Work the lower arm free from the frame brackets and remove it. For installation, inspect the lower arm bushings for any damage; if replacement is needed, take the lower arm to an automotive machine shop for the old bushings to be pressed out and new ones pressed in. Position the lower arm and install the pivot bolts, washers, and nuts without tightening them yet. Attach the steering knuckle to the lower balljoint, tighten the nut to the specified torque, and install a new cotter pin, ensuring the nut is tightened enough to align the slots with the hole in the balljoint stud. Tighten the pivot bolt nuts to the specified torque, support the lower control arm with a floor jack, and install the torsion bar. Reattach the shock absorber and stabilizer bar to the lower arm, then install the wheel and lug nuts. Lower the vehicle and tighten the lug nuts to the specified torque, and finally, drive the vehicle to an alignment shop for a front end alignment check and adjustment if necessary.Answered by Honda Parts Specialist Gino / Apr 17, 2026
Related 2002 Honda Passport Parts
 2002 Honda Passport Control Arm Bushing
 2002 Honda Passport Coil Springs
 2002 Honda Passport Ball Joint
 2002 Honda Passport Steering Knuckle
 2002 Honda Passport Torsion Bar
 2002 Honda Passport Lift Support
 2002 Honda Passport Trailing Arm Bushing