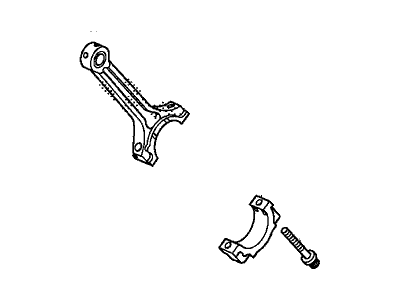
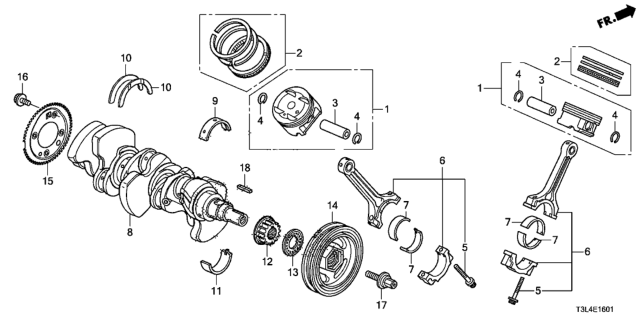
Before the assemblies of pistons and connecting rods can be dismantled the cylinder head and oil pan have to be disconnected. First, look that whether there is ridge formation at the upper limit of ring travel in each cylinder, if so than this must be done by ridge reamer for avoiding piston breakage. Once the ridges are turned to the top turn the engine onto its side so the crankshaft is now at the top. After that, the connecting rod end-play has to be measured with the help of feeler gauges; it has to be within a given range; if it goes beyond this range, new connecting rods may be required. It is recommended to mark the connecting rods and caps to distinguish them before removing the connecting rod cap bolts and the cap itself, during which you should look for any traces of damage. Extract the connecting rod and piston assembly through the top of the engine and perform the same on all the cylinders. After removal, screw the connecting rod caps and setting geographical bearing inserts back into position and retain the old inserts especially for protection of surfaces. For piston ring installation, check the value of ring end gaps and then adjust the gaps to the recommended limits of the manufacturer. The oil control ring should be fitted first, before the middle and top rings with due regard to the nomenclature. If the piston and connecting rod assembly is to be installed into the cylinder, the innerliner of the cylinder should be polished and the edges should be chamfered. Do not lubricate the new bearing inserts as they are fitted and make sure that they sit in the correct position and that the piston ring gaps are arranged in the correct manner. Oil the piston and the rings, and then slip the piston/connecting rod into its corresponding cylinder avoiding to exert force on it. When the pistons have been installed, use Plastigage to determine the oil clearance of the connecting rod bearing and make sure that it is within the right provision. Where required, the bearing inserts should be replaced. Scrub off any Plastigage and lubricate the bearing surfaces; replace the rod cap and bolt it back down properly. Perform this for the other assemblies; one needs to make sure that they are properly cleaned and are well oriented. Last but not the least, turn the crankshaft in order to check for binding on bearings and to also measure for the connecting rod clearance if new con-rods and pins were fitted.

 (Taiho)")
")


")

")