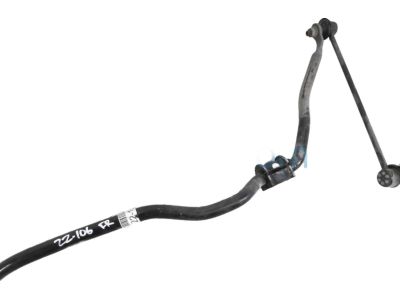
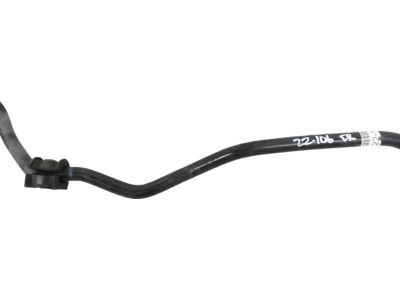
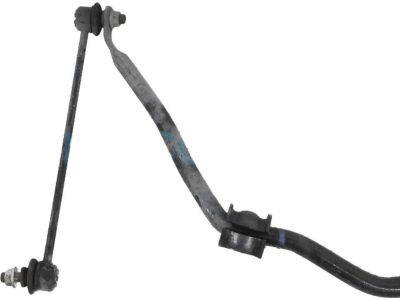
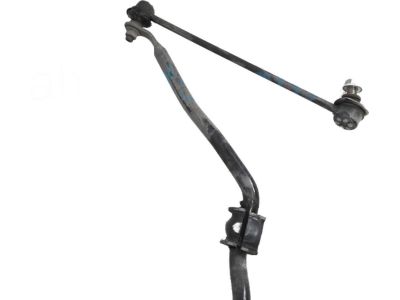
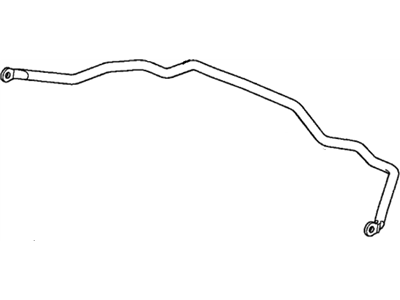
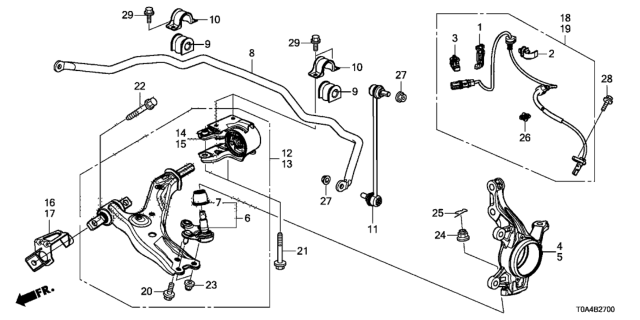
Before changing the ball joint, loosen the front lug nuts first, lift up the front part of the vehicle, and set it on jackstands with good support. Park your car in gear. Block the rear wheels to keep the car from slipping down the ramp. Then take off the front wheels. Unscrew the nuts holding the stabilizer bar links to both arms and the Sway Bar Kit using an Allen key to keep the ballstud from turning. Untwist the bar links linking the control arm and the bar, and remove each of the nuts. Reconnect everything backwards step by step when you're done, tightening standards on each joint. Take out the guard from below the driver's footwell. Unhook the steering column from the steering gear, being careful not to turn the steering wheel, to save the airbag clockspring from damage. Begin by disconnecting the stabilizer bar links from the control arms, balljoints from the steering knuckles, tie-rod end from the steering knuckle, taking off under-vehicle splash guards, and removing the front part of your exhaust system. For AWD models, remove the driveshaft. Use a floor jack to hold the subframe from the back side, take out the bolts for the rear and mid subframe, loosen the bolts for the front subframe by about 1-3/16 inches. Loosen and remove the bolts that connect the torque rod to engine, then pull the subframe down 5-18 inches. When removing the bracket bolts, line up the slit in each rubber bushing with how they were before. Look for cracks, tears, or altered Sway Bar Bushing, their retainers, and worn or bad stabilizer bar links. Unbolt the bracket and carefully detach ruined stabilizer bar bushings, release the bushing from the bar, then carefully pull foldable retainer clips apart. Put fresh bushings into place, making sure the slits line up the same way as before. Push the stabilizer bar into place, fasten the bushing brackets with their bolts, lift up the subframe, and bolt down the parts alongside the torque rod bolts. Link the stabilizer bar to the lower control arms, tighten the nuts connecting the balljoints to control arms, install wheels with back nuts, drive down and tighten the lug nuts. Finish by inspecting and then readjusting your front-end alignment, if needed.


")


")
")
