×
- Hello
- Login or Register
- Quick Links
- Live Chat
- Track Order
- Parts Availability
- RMA
- Help Center
- Contact Us
- Shop for
- Honda Parts
- Honda Accessories

My Garage
My Account
Cart
Genuine 2000 Honda Passport Axle Shaft
Car Axle Shaft- Select Vehicle by Model
- Select Vehicle by VIN
Select Vehicle by Model
orMake
Model
Year
Select Vehicle by VIN
For the most accurate results, select vehicle by your VIN (Vehicle Identification Number).
5 Axle Shafts found
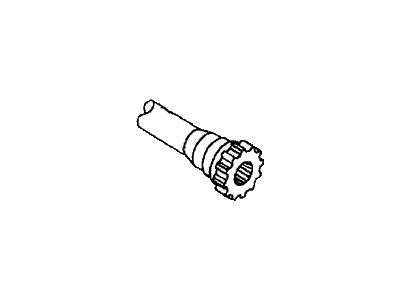

2000 Honda Passport Shaft Axle, Front Inner
Part Number: 8-97188-174-1$328.46 MSRP: $672.75You Save: $344.29 (52%)Product Specifications- Other Name: Inner Axle Shaft; Inner Shaft
- Position: Front Inner
- Replaces: 8-97188-174-0, 8-97130-566-0, 8-97130-566-1
- Item Weight: 6.10 Pounds
- Item Dimensions: 19.4 x 2.8 x 2.9 inches
- Condition: New
- Fitment Type: Direct Replacement
- SKU: 8-97188-174-1
- Warranty: This genuine part is guaranteed by Honda's factory warranty.
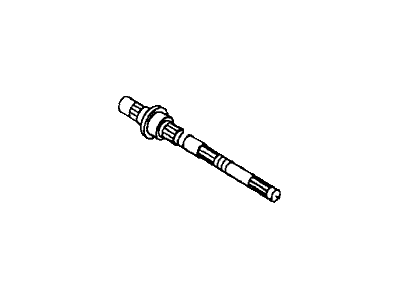

2000 Honda Passport Shaft, Main Transmission (Teeth=28-34-26-27)
Part Number: 8-97120-040-0$310.47 MSRP: $453.90You Save: $143.43 (32%)Product Specifications- Replaces: 8-97037-972-0
- Item Weight: 4.40 Pounds
- Item Dimensions: 28.1 x 3.3 x 3.4 inches
- Condition: New
- Fitment Type: Direct Replacement
- SKU: 8-97120-040-0
- Warranty: This genuine part is guaranteed by Honda's factory warranty.
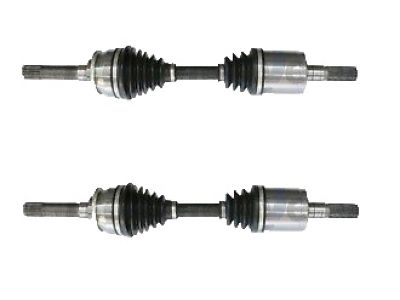
 Product Specifications
- Other Name: Axle Assembly
- Position: Front
- Replaces: 8-97125-447-2, 8-97125-447-1
- Item Weight: 17.60 Pounds
- Item Dimensions: 32.5 x 7.4 x 7.4 inches
- Condition: New
- Fitment Type: Direct Replacement
- Require Quantity: 2
- SKU: 8-97365-158-0
- Warranty: This genuine part is guaranteed by Honda's factory warranty.
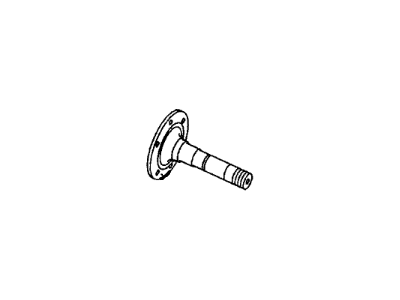
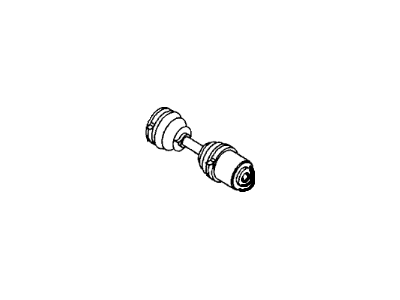
 Product Specifications
- Other Name: Axle Shafts; Axle
- Position: Rear
- Replaces: 2-90265-710-0
- Item Weight: 24.70 Pounds
- Item Dimensions: 32.7 x 8.3 x 8.3 inches
- Condition: New
- Fitment Type: Direct Replacement
- Require Quantity: 2
- SKU: 8-97213-938-0
- Warranty: This genuine part is guaranteed by Honda's factory warranty.
- Product Specifications
- Other Name: Axle Shafts; Axle
- Position: Rear
- Replaces: 2-90265-700-0
- Item Weight: 22.80 Pounds
- Item Dimensions: 33.3 x 8.1 x 7.7 inches
- Condition: New
- Fitment Type: Direct Replacement
- Require Quantity: 2
- SKU: 8-97213-937-0
- Warranty: This genuine part is guaranteed by Honda's factory warranty.
2000 Honda Passport Axle Shaft
Our website is the optimal online store for when you need any genuine 2000 Honda Passport Axle Shaft. We offer a wide range of 2000 Honda Passport Axle Shaft at unbeatable prices. We will help provide you with a worry-free shopping experience at highly competitive prices. In addition, all OEM parts are backed by the manufacturer's warranty.
2000 Honda Passport Axle Shaft Parts Questions & Experts Answers
- Q:How to Remove and Install a Front Axle Shaft with an Automatic "Shift-on-the-Fly" System on a 2000 Honda Passport?Posted by Emerson T.A:The illustrations show a later style front axle with an automatic "shift-on-the-fly" system, while earlier units have different axle mounting brackets and lack a vacuum shift motor and vacuum switching valves; however, the removal procedure for these models is generally similar. Begin by loosening the wheel lug nuts, raising the front of the vehicle, and securely supporting it on jackstands before removing the wheels. Next, remove the steering linkage, detach the front driveshaft from the front axle, and hang it out of the way with a piece of wire. Remove the left brake caliper and hang it out of the way, then take off the skid plate if equipped. Disconnect and remove the steering linkage as a single assembly, separate the left steering knuckle from the left upper control arm balljoint, and detach the vent hose from the front axle. Unplug the electrical connectors from the vacuum switching valves and vacuum shift motor, label and detach the vacuum hoses, and remove the switching valve mounting bracket and motor from the axle. Support the front axle assembly with a floor jack, then remove the four nuts attaching the axle mounting brackets to the frame and the eight bolts attaching the brackets to the ends of the axle assembly. With the axle mounting brackets detached from the frame and the axle assembly detached from the brackets, disengage the splined inner end of the left driveaxle from the axle assembly, carefully lower the axle assembly slightly, disengage it from the inner end of the right driveaxle assembly, and remove the axle. Installation is the reverse of the removal procedure, ensuring all brake, steering, and suspension fasteners are tightened to the specified torque, along with the wheel lug nuts.Answered by Honda Parts Specialist Lawrence / Nov 27, 2023
Related 2000 Honda Passport Parts
 2000 Honda Passport Torque Converter
 2000 Honda Passport Wheel Bearing
 2000 Honda Passport Transmission Assembly
 2000 Honda Passport Pinion Washer
 2000 Honda Passport Transmission Gasket
 2000 Honda Passport Slip Yoke
 2000 Honda Passport Input Shaft Bearing
 2000 Honda Passport Output Shaft Bearing