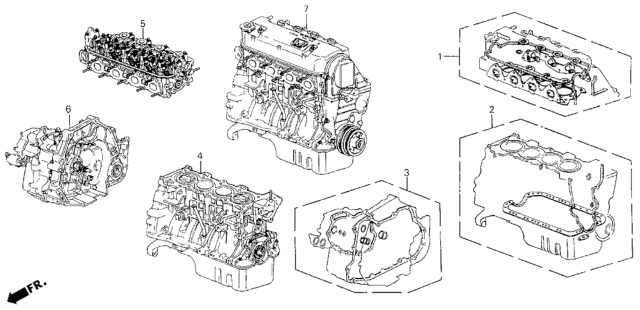
Always, it is advisable to read the procedures several times before starting with the job to minimize the chances of missing important steps. It might be advisable to use some kind of penetrating fluid or spray on bolts and nuts that can be pointed out as being rather hard to retract such as those on exhaust manifold and engine mounts. Usually both the engine and transaxle are pulled as a single assembly but it is possible to pull just the engine which takes less time but makes reinstallation difficult because the components have to be re-aligned. This is done by removing the fuel system pressure, or disconnecting the negative battery terminal, and if the radio has an anti theft code it is wise to jot down the code. Cover the fenders and cowl as well as the hood. Next remove the air cleaner assembly air intake duct, the charcoal canister hose; deposit labels on the vacuum lines, emission system hoses, electrical connectors, ground straps and fuel lines before removing. Remove all coolant hoses, coolant tank, cooling fan, shroud, and radiator: remove also the drivebelt(s) and idler. Remove the screws of the fuel injection hoses and detach them, accelerate linkage, and the cruise control cable if present. Remove the power steering pump and the air conditioning compressor including the hoses and take off the bolts of the alternator. Lift the vehicle supported on jackstands and drop the coolant and the engine oil and also remove the starter and splash shields. On automatic transaxle models, the following indications should be noted To remove the throttle control cable, speed sensor, lock-up control solenoid and linkage To gain access to the torque converter, the following components shall be removed The inspection cover and cooler lines. Take off the crankshaft pulley and unbolt the torque converter to driveplate. Remove the exhaust system, immobilize the transaxle with the help of a jack, and put the engine sling round the pins of the engine. Hoist the assembly into the proper position and the reeve take up the direction of the driveshaft(s). For all ET-5 models, disconnected the clutch release cylinder on manual transaxle variants and move it aside. Remove the center crossmember and also the engine mount to chassis bolts and make sure there is no single thing holding the engine on the vehicle. First, raise the engine slightly to release the pressure of the mounts, and then slowly pull the engine/transaxle assembly up in order to avoid the contact with such obstacles and pull it out of the compartment. Place the assembly on the ground and level it using wooden wedges and then unbolt the clutch and the flywheel respectively or the drive plate in case of a single bearing engine before you initiate the process of mounting this engine on a stand. In this separation you have to take the transaxle apart from the engine. For installation, inspect the engine and transaxle mount for wear, if it is worn, then replace it. If necessary, fit the clutch and pressure plate and bolt the transaxle to the engine, do not use the bolts to force them onto the other. When handling an automatic transaxle, ensure you very carefully fix the torque converter, correctly position the engine mounts to the frame, and tighten the bolts correctly. The assembly can be lowered into the compartment with a chain hoist and its installation is done in the reverse manner as the removal. Last, put coolant, oil, power steering, and transmission fluids if necessary, and perform road test with the engine while observing any leaks or operation of accessories; use the hood and take a road test with the car. If the air conditioning system was discharged, get an expert to evacuate, recharge and test for any leak.
")