×
- Hello
- Login or Register
- Quick Links
- Live Chat
- Track Order
- Parts Availability
- RMA
- Help Center
- Contact Us
- Shop for
- Honda Parts
- Honda Accessories

My Garage
My Account
Cart
Genuine 2001 Honda Passport Oil Pan
Oil Drain Pan- Select Vehicle by Model
- Select Vehicle by VIN
Select Vehicle by Model
orMake
Model
Year
Select Vehicle by VIN
For the most accurate results, select vehicle by your VIN (Vehicle Identification Number).
2 Oil Pans found
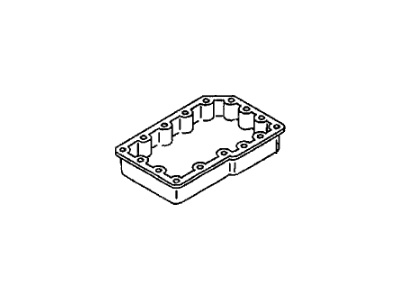
 Product Specifications
- Other Name: Oil Pan
- Replaces: 8-96016-554-0, 8-96016-562-0, 8-96017-876-0
- Item Weight: 7.30 Pounds
- Item Dimensions: 23.6 x 22.6 x 5.9 inches
- Condition: New
- Fitment Type: Direct Replacement
- SKU: 8-96023-707-0
- Warranty: This genuine part is guaranteed by Honda's factory warranty.
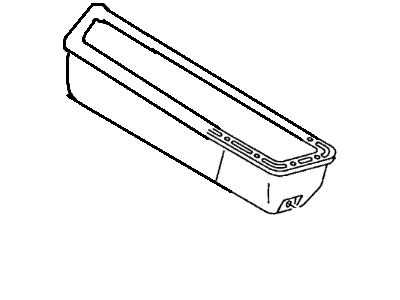
 Product Specifications
- Other Name: Oil Pan
- Replaces: 8-97149-083-2
- Item Weight: 2.10 Pounds
- Item Dimensions: 13.1 x 7.1 x 4.9 inches
- Condition: New
- Fitment Type: Direct Replacement
- SKU: 8-97264-032-0
- Warranty: This genuine part is guaranteed by Honda's factory warranty.
2001 Honda Passport Oil Pan
Our website is the optimal online store for when you need any genuine 2001 Honda Passport Oil Pan. We offer a wide range of 2001 Honda Passport Oil Pan at unbeatable prices. We will help provide you with a worry-free shopping experience at highly competitive prices. In addition, all OEM parts are backed by the manufacturer's warranty.
2001 Honda Passport Oil Pan Parts Questions & Experts Answers
- Q:How to remove and install an oil pan on 3.2L V6 engine on 2001 Honda Passport?Posted by Rena G.A:Before removing the oil pan the negative cable of the battery needs to be disconnected and the car placed on jackstands with the wheels off. Take off the under vehicle splash pan, siphon the engine oil and put a new engine oil filter. Remove the front wheel lug nuts, lift the vehicle a second time, and then secure it on jack stand only. Place the front wheels on a floor jack to pull out the direction and remove the front wheels. In 1997 and previous year models, both Pitman arm and idler arm must be removed to have the steering gear centre link drop down as far as the forward aspect of the oil pan. Secondly, have the flywheel inspection cover plate removed before pulling out two bolts which are on each side of the under-engine crossmember and then pull out the crossmember and the front axle assembly. For all models, the starter motor must be detached in order to access the last few pan bolts on the left side of the engine; the oil pan bolts are removed as well as the nuts, while a couple of these may be studs accompanied by nuts. Loosen the oil pan by unscrewing the bolts; you have to be very weary not to damage the sealing surfaces; if the pan is intimately fused to the engine, use a hammer and wood to remove it. To that it is necessary to remove all signs of the previously used sealant by means of a gasket scraper and a solvents such as lacquer thinner or acetone. For installation the threaded holes in the block should be clean, then put a thin continuous line of RTV sealant on the side of the oil pan flange and it should run inwards up to the bolt holes. Bolt the oil pan into position and use a three or four step pattern to tighten down the bolts to the correct torque. The remaining steps are the reverse of removal steps. It is usually advisable to take almost thirty minutes allowing the sealant to dry and then add oil into the crankcase start the engine, examine for oil pressure and any sign of leakage.Answered by Honda Parts Specialist Preston / Aug 23, 2025
Related 2001 Honda Passport Parts
 2001 Honda Passport Oil Filter
 2001 Honda Passport Rod Bearing
 2001 Honda Passport Oil Pump
 2001 Honda Passport Oil Pressure Switch
 2001 Honda Passport Dipstick
 2001 Honda Passport Crankshaft Pulley
 2001 Honda Passport Drain Plug
 2001 Honda Passport Dipstick Tube